¶ Overview of the Process
New pages can be created and published in 2 steps:
1. Create a new page - The new page needs to be created. The new page however will not be accessible from the Navigation pane.
2. Create an access point in the Navigation bar and link the created new page to it. - A Navigation page item needs to be created as this will allow users to find and navigate to the new page
¶ Create a New Page
▸ Select New Page from the top right corner icons

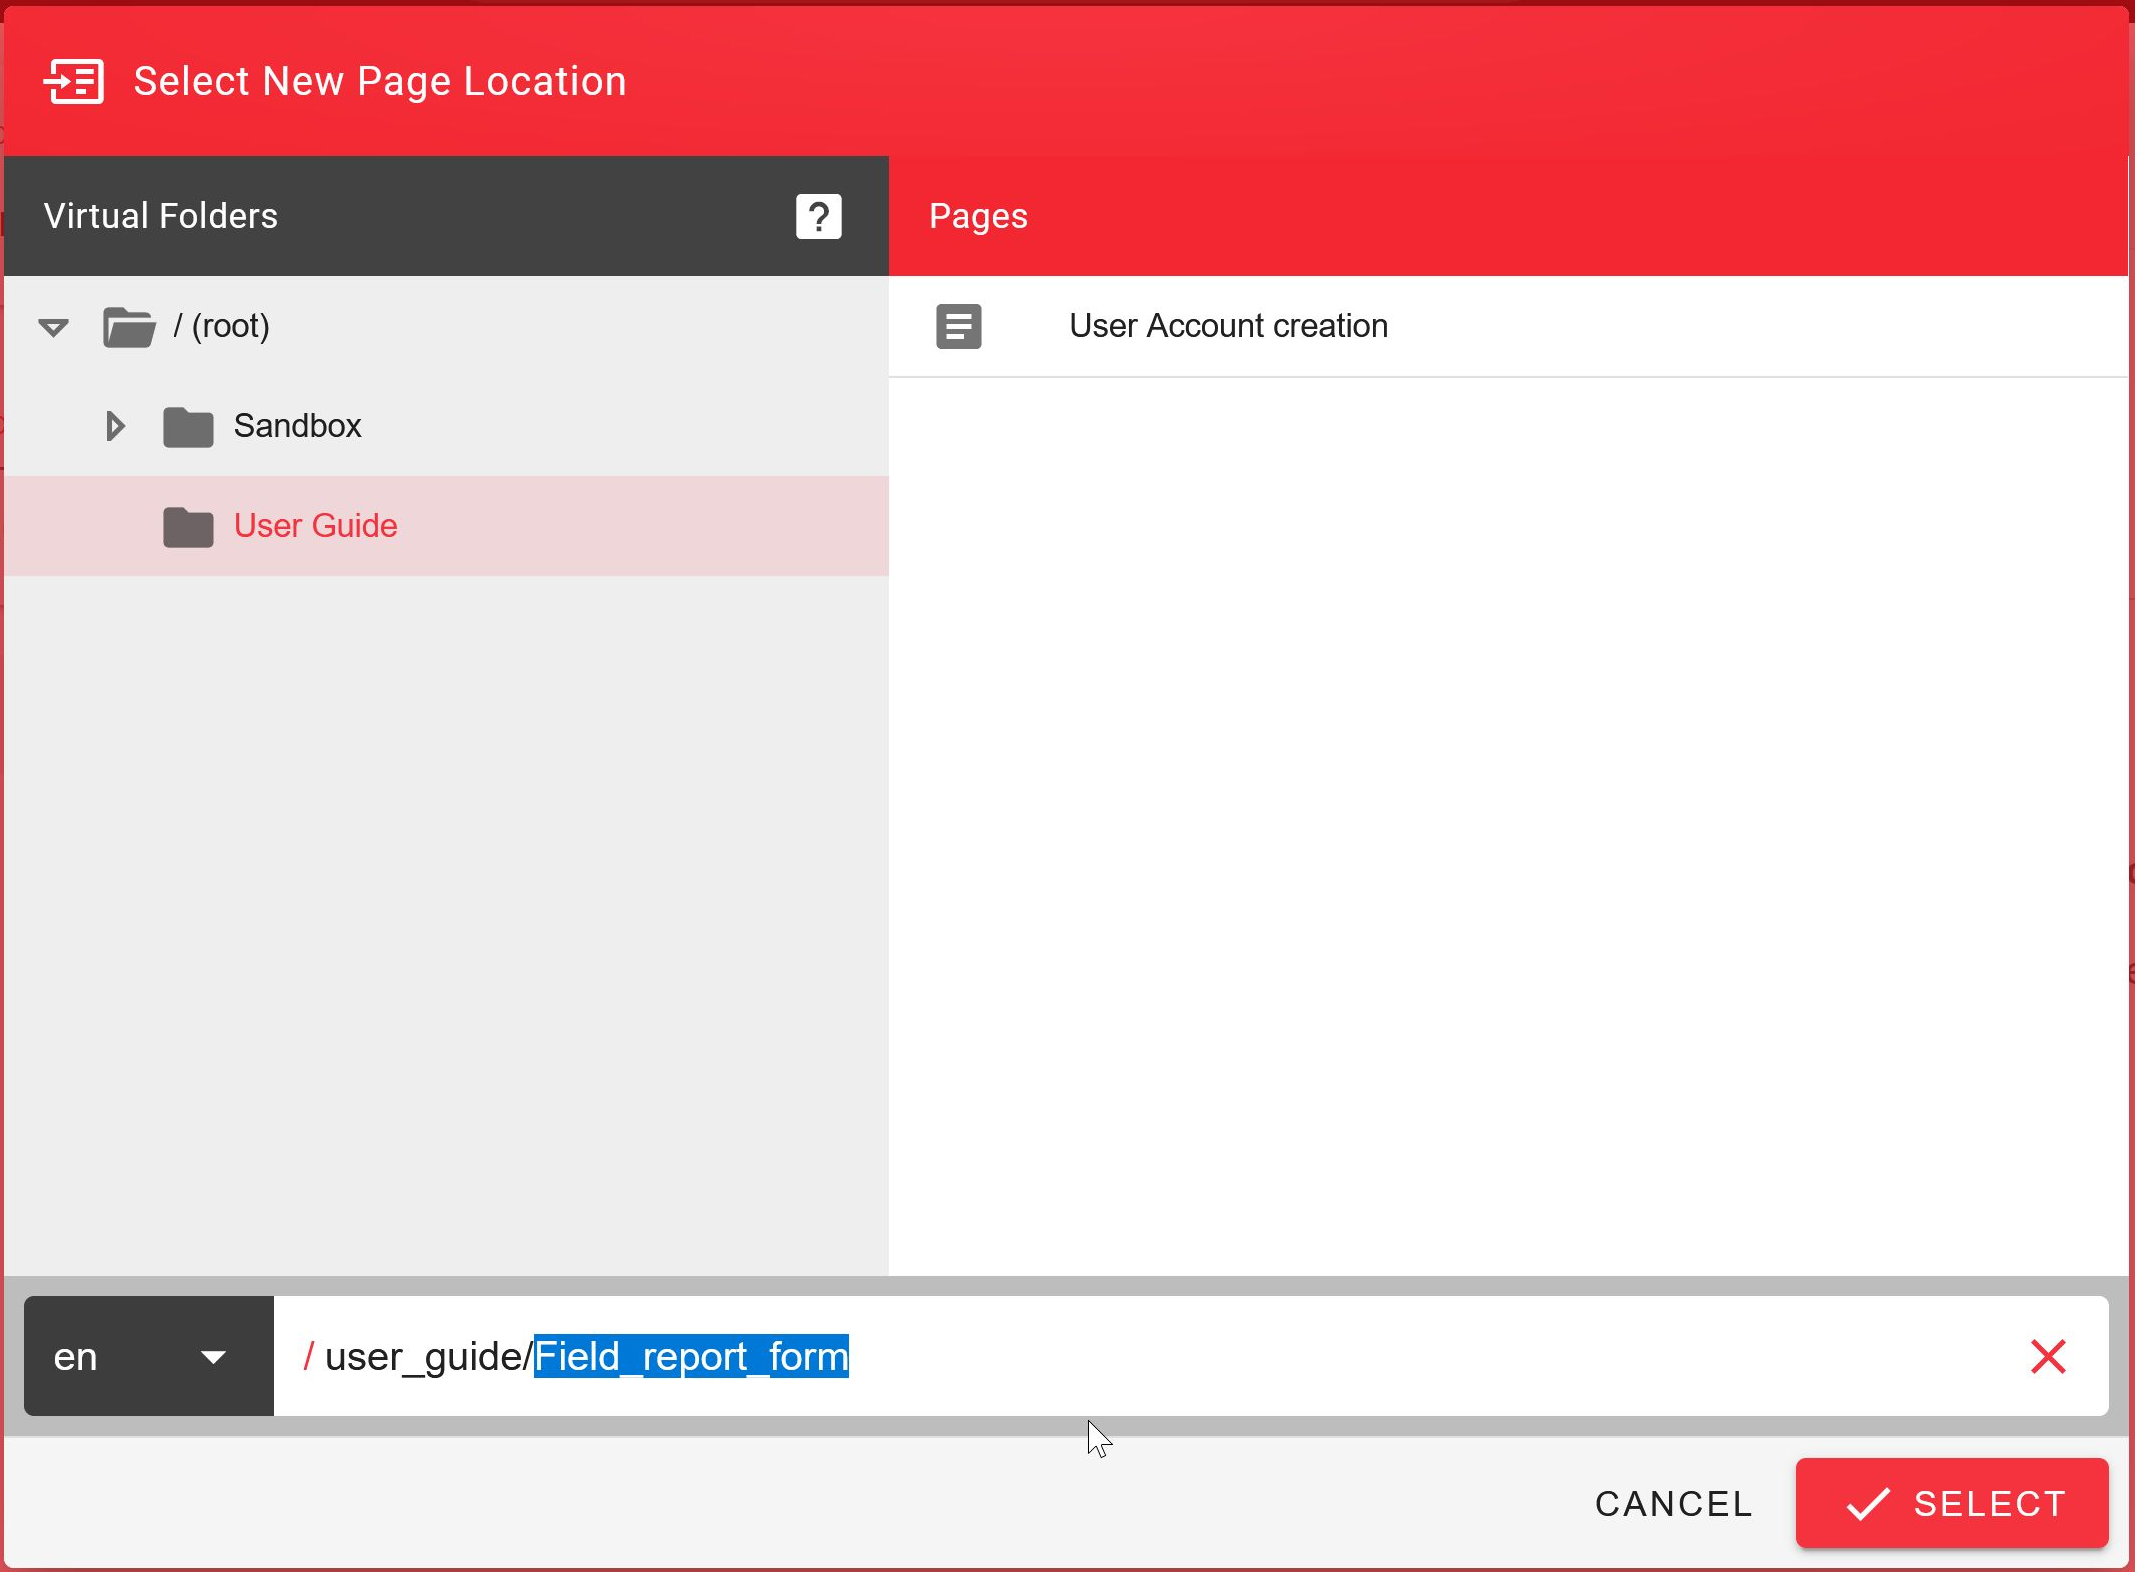
▸ Select new page location
Select folder and path name for the new page.
▸ New folders can be created by specifying the folder name followed by / E.g. New_folder/New_page_name will create the folder as well
▸ Don't use white-spaces when defining the path
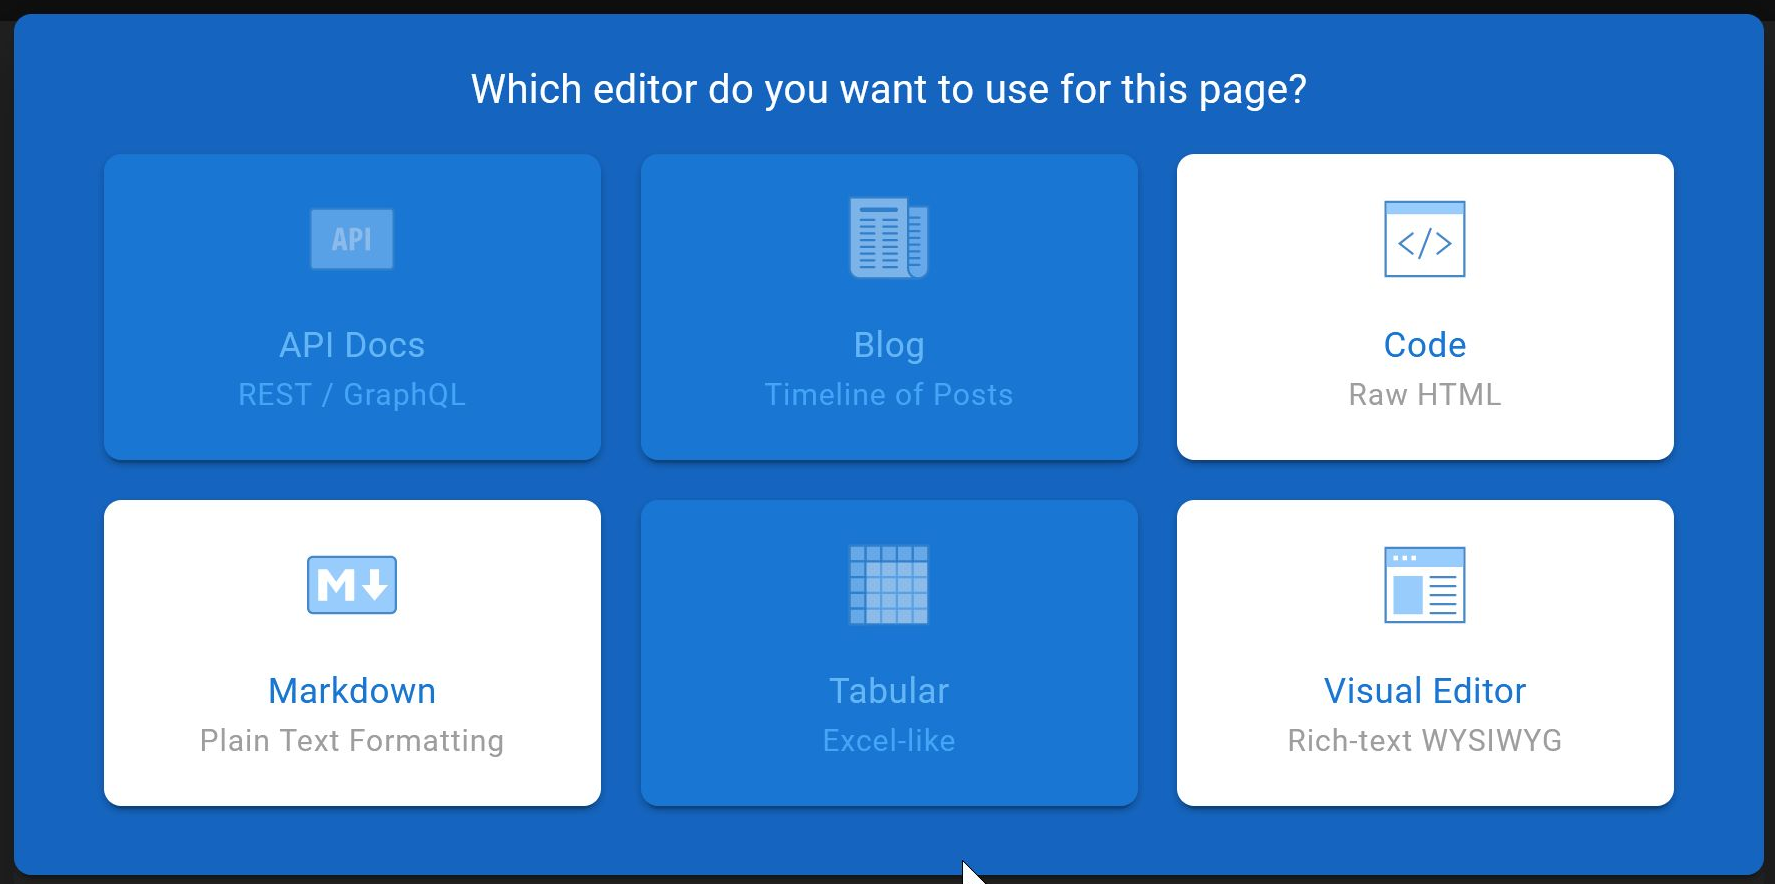
▸ Content producers have multiple page editing options:
▸ Visual editor (Rich text editor)
▸ Markdown editor
▸ HTML editor
▸ Visual editor is the simplest to use option (What You See Is What You Get)
▸ There are slight differences between the editor capabilities though. These are mostly differences in text styling options. Visual editor has a good range of text styling options.
▸ Video embedding is only available on HTML pages at the moment. The workaround is to create the page by Visual editor and then convert it to HTML and add the embedded videos then.
▸ Currently there are no options to change the text color.
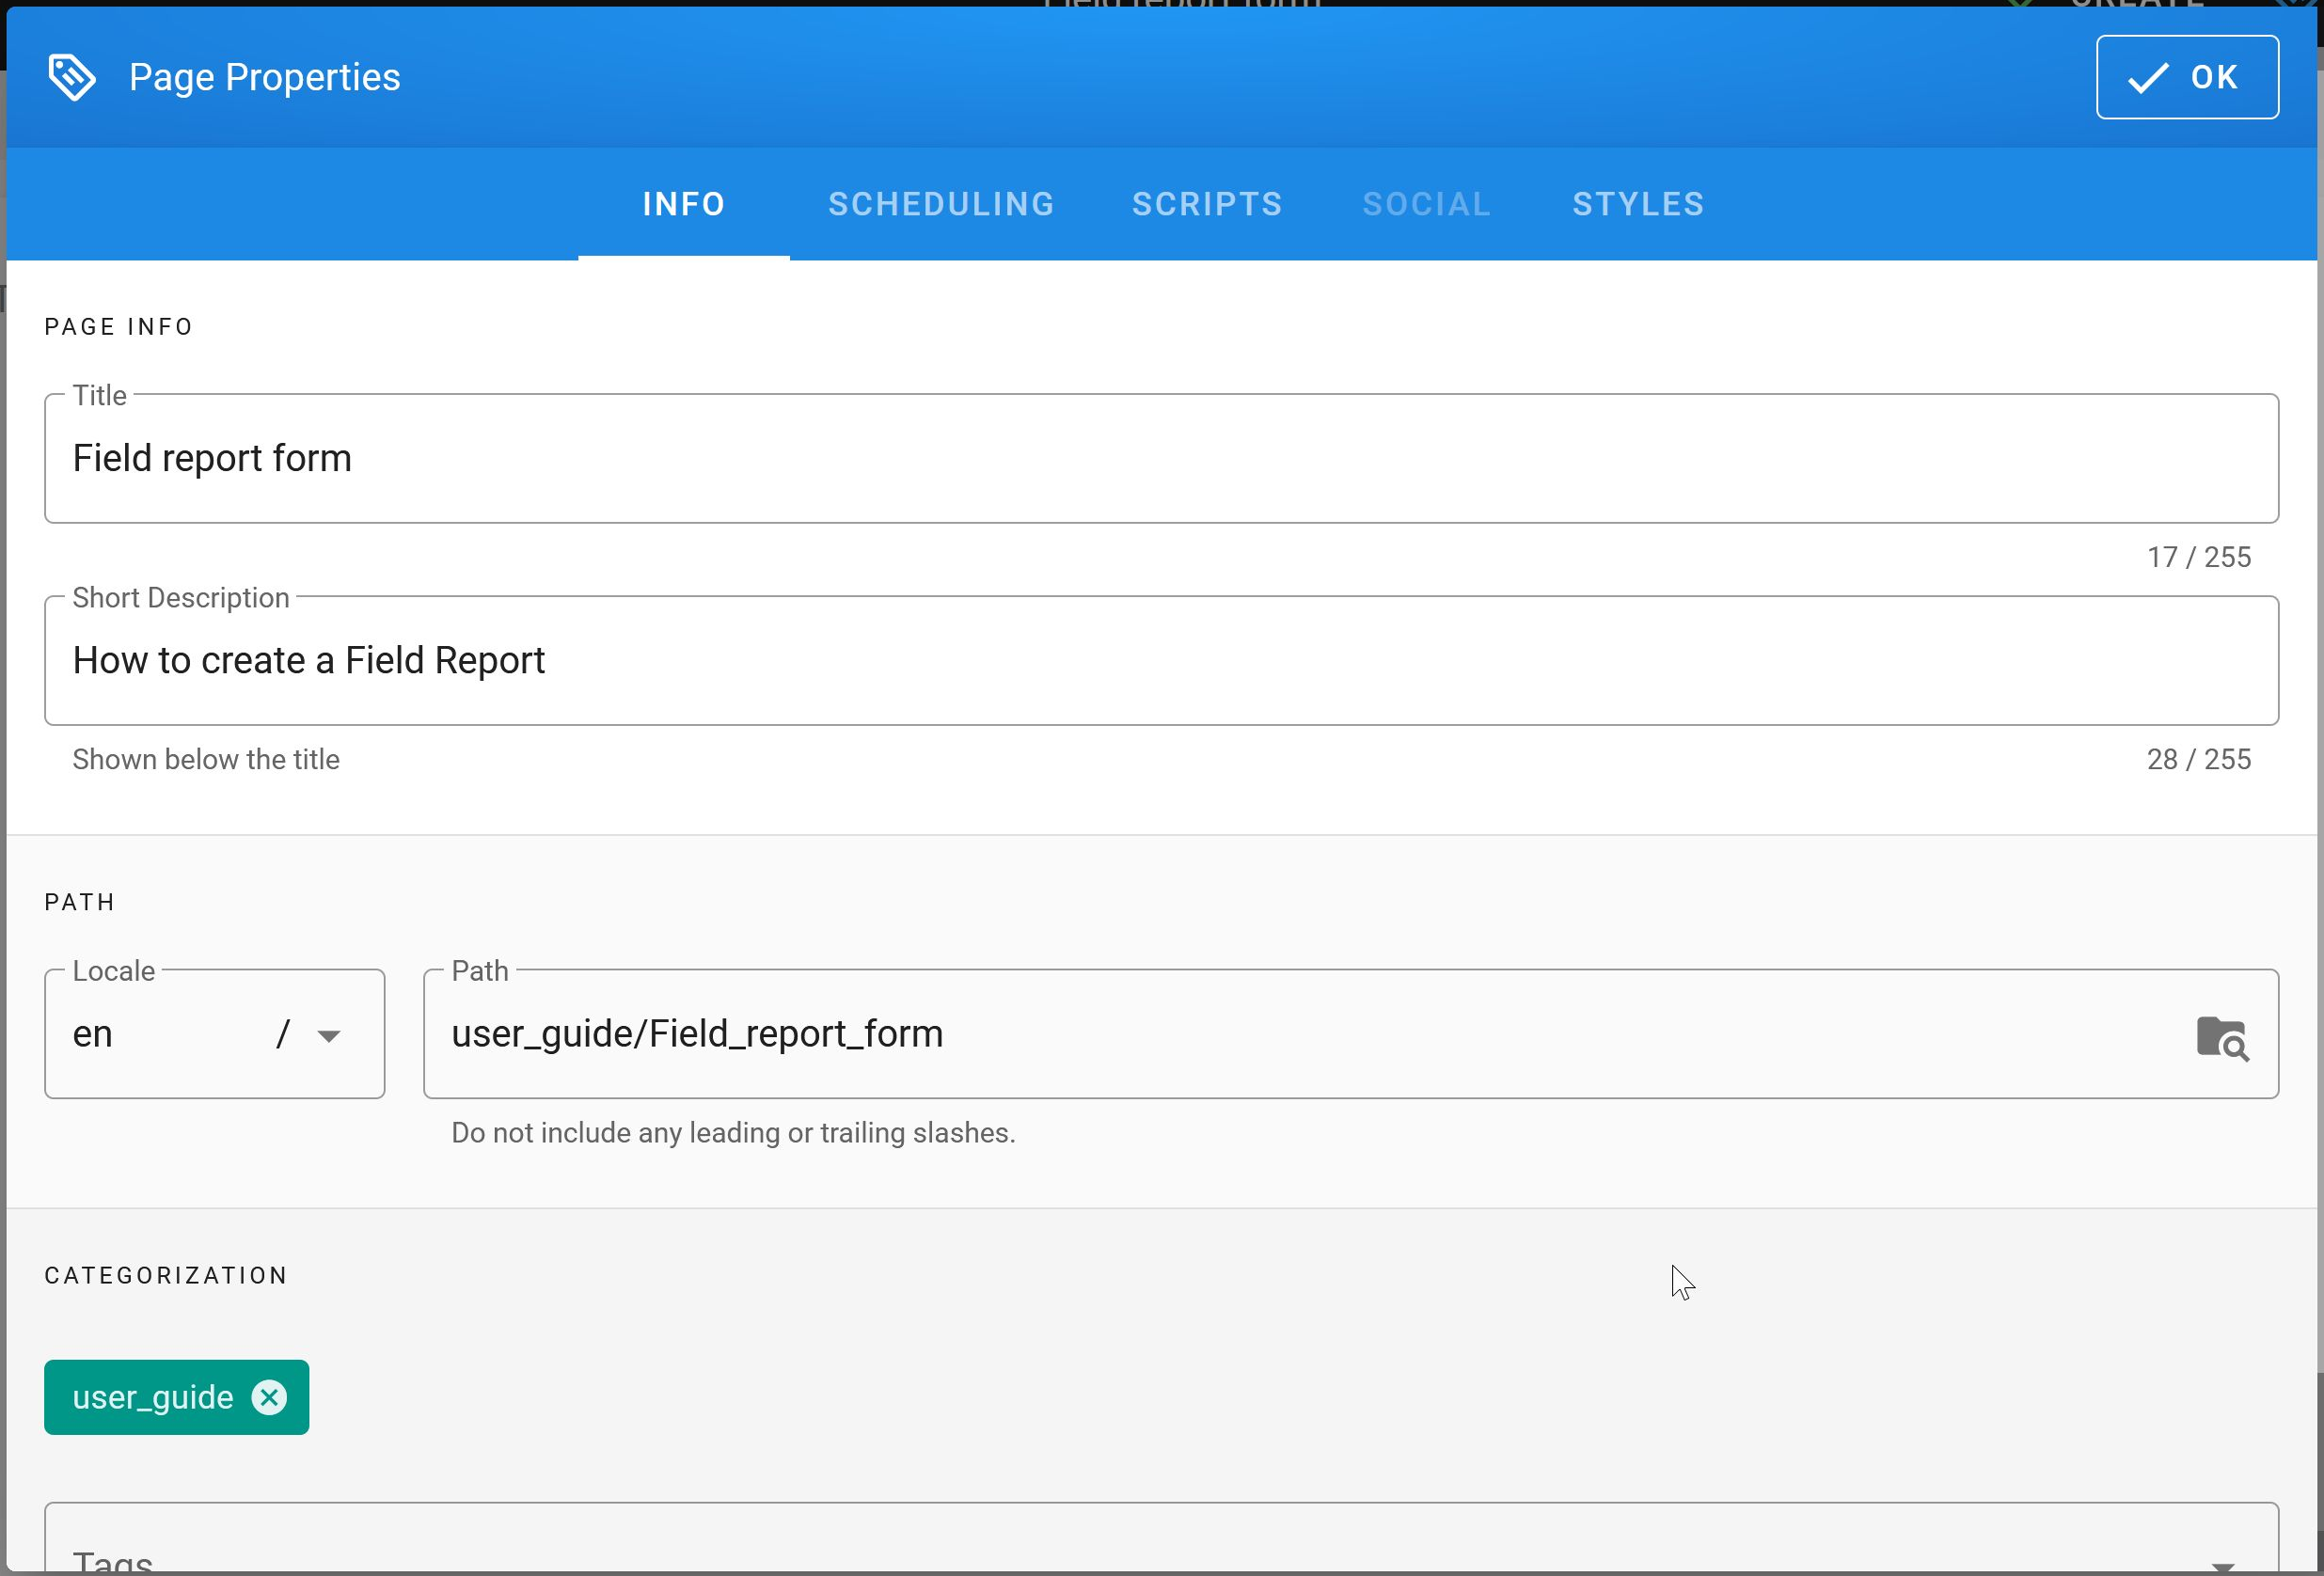
▸ Add properties of the new page
Add page title and optionally a short description and tags.
Page title is displayed on the page and can contain white-space characters.
When all set, the page editor appears and you can add the page content to the site.
Please refer to the Styling Guidelines page for more information about content styling.
Media files can be also embedded on the page. (See Media handling)
When editing is ready, save the page at the top right corner of the page.

¶ Add the New Page to the Navigation Pane
New pages need to be displayed on the Navigation pane on the left of the Wiki page. Therefore a new item needs to be added there.
▸ Go to Navigation in the Wiki admin menu
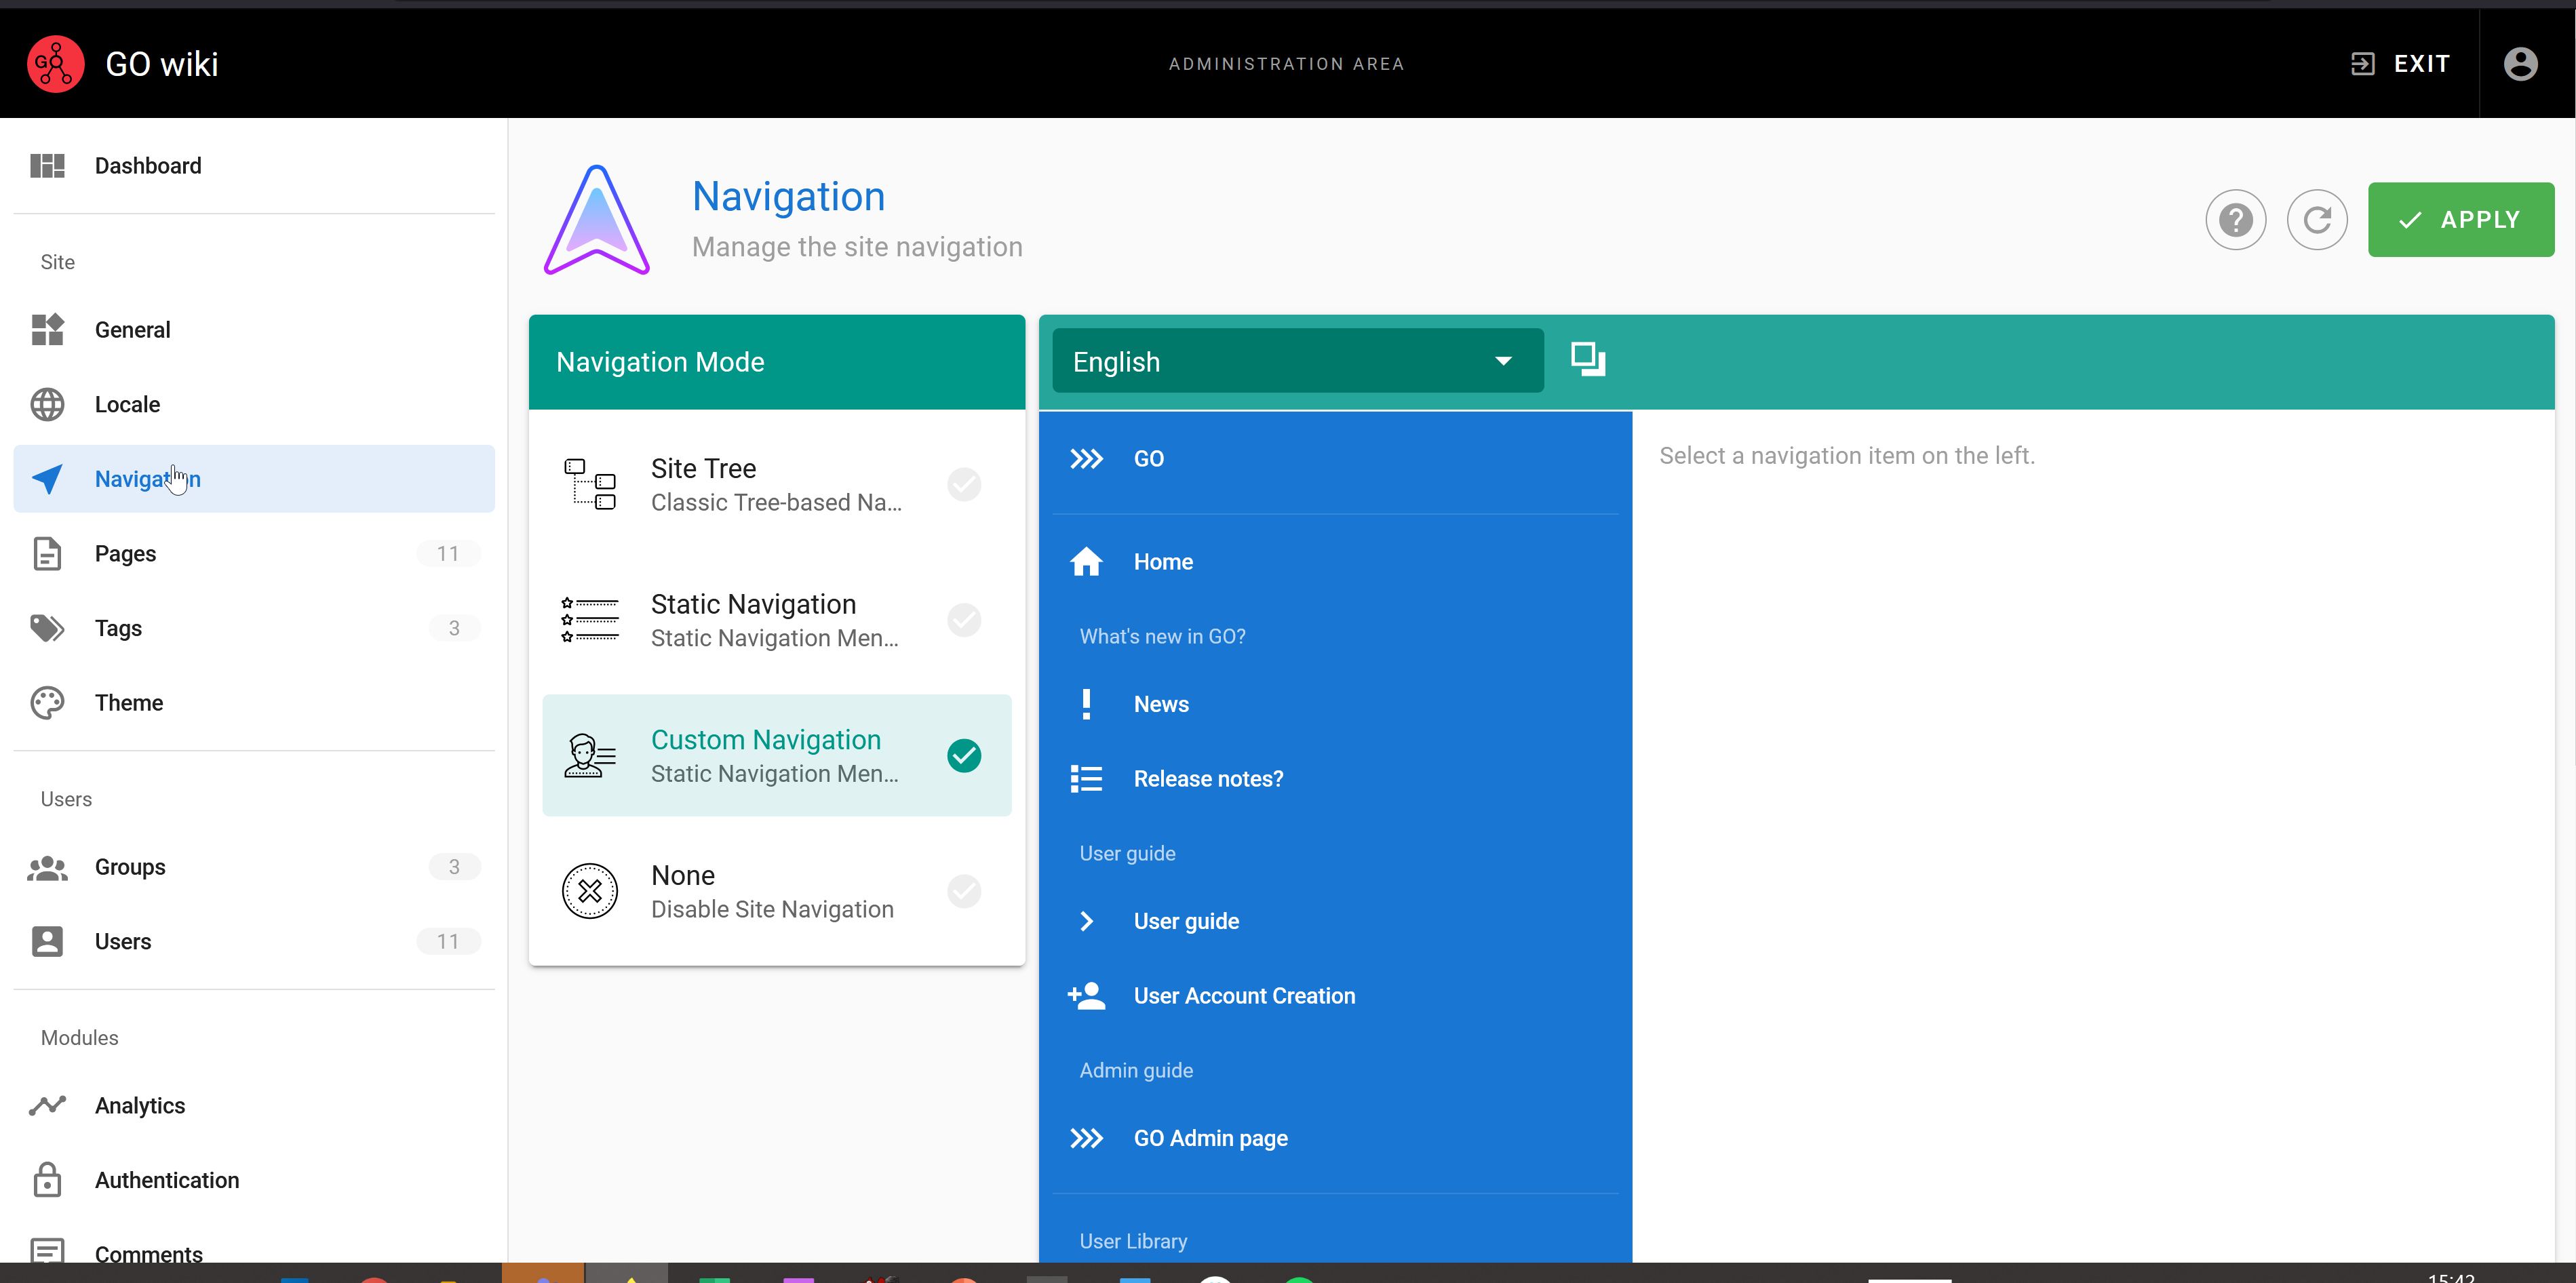
▸ Go to the bottom of the navigation pane in the middle, and select Add
▸ Select Page and add a label. This label will be displayed in the Navigation pane
▸ Drag the new item to the correct place in the list.
▸ At Target type, select Page and then use the Select the page option to assign the page
▸ Set page visibility: select Visible to everyone in case of public information
▸ Click Apply on the top of the page when ready
¶ Best Practices for Page Creation
Planning Your Content:
▸ Before creating a page, outline your content structure
▸ Consider your target audience and their information needs
▸ Plan your headings and sections for better readability
Organization Tips:
▸ Use descriptive page titles that clearly indicate the content
▸ Group related pages in appropriate folders
▸ Maintain consistent naming conventions across your wiki
▸ Consider creating index pages for complex topic areas
Quality Assurance:
▸ Always preview your page before publishing
▸ Check all links to ensure they work correctly
▸ Verify that images and media display properly
▸ Test the page on different devices if possible
¶ Troubleshooting Common Issues
❗ Page Not Visible in Navigation
▸ Ensure you completed step 2 (adding to Navigation pane)
▸ Check that page visibility is set correctly
▸ Verify the page link is properly configured
❗ Formatting Issues
▸ Different editors may handle formatting differently
▸ When switching between editors, some formatting may change
▸ Always preview after making editor changes
❗ Media Not Displaying
▸ Check file permissions and accessibility
▸ Ensure media files are in supported formats
▸ Verify the media file paths are correct
¶ Additional Resources
For more detailed information:
▸ Styling Guidelines - Learn about content formatting and design standards
▸ Media Handling - Understand how to work with images, videos, and other media
▸ Wiki Administration - Access advanced wiki management features